PRE SALE ADVICE
01924 496111
01924 496111
01924 496111
01924 496111
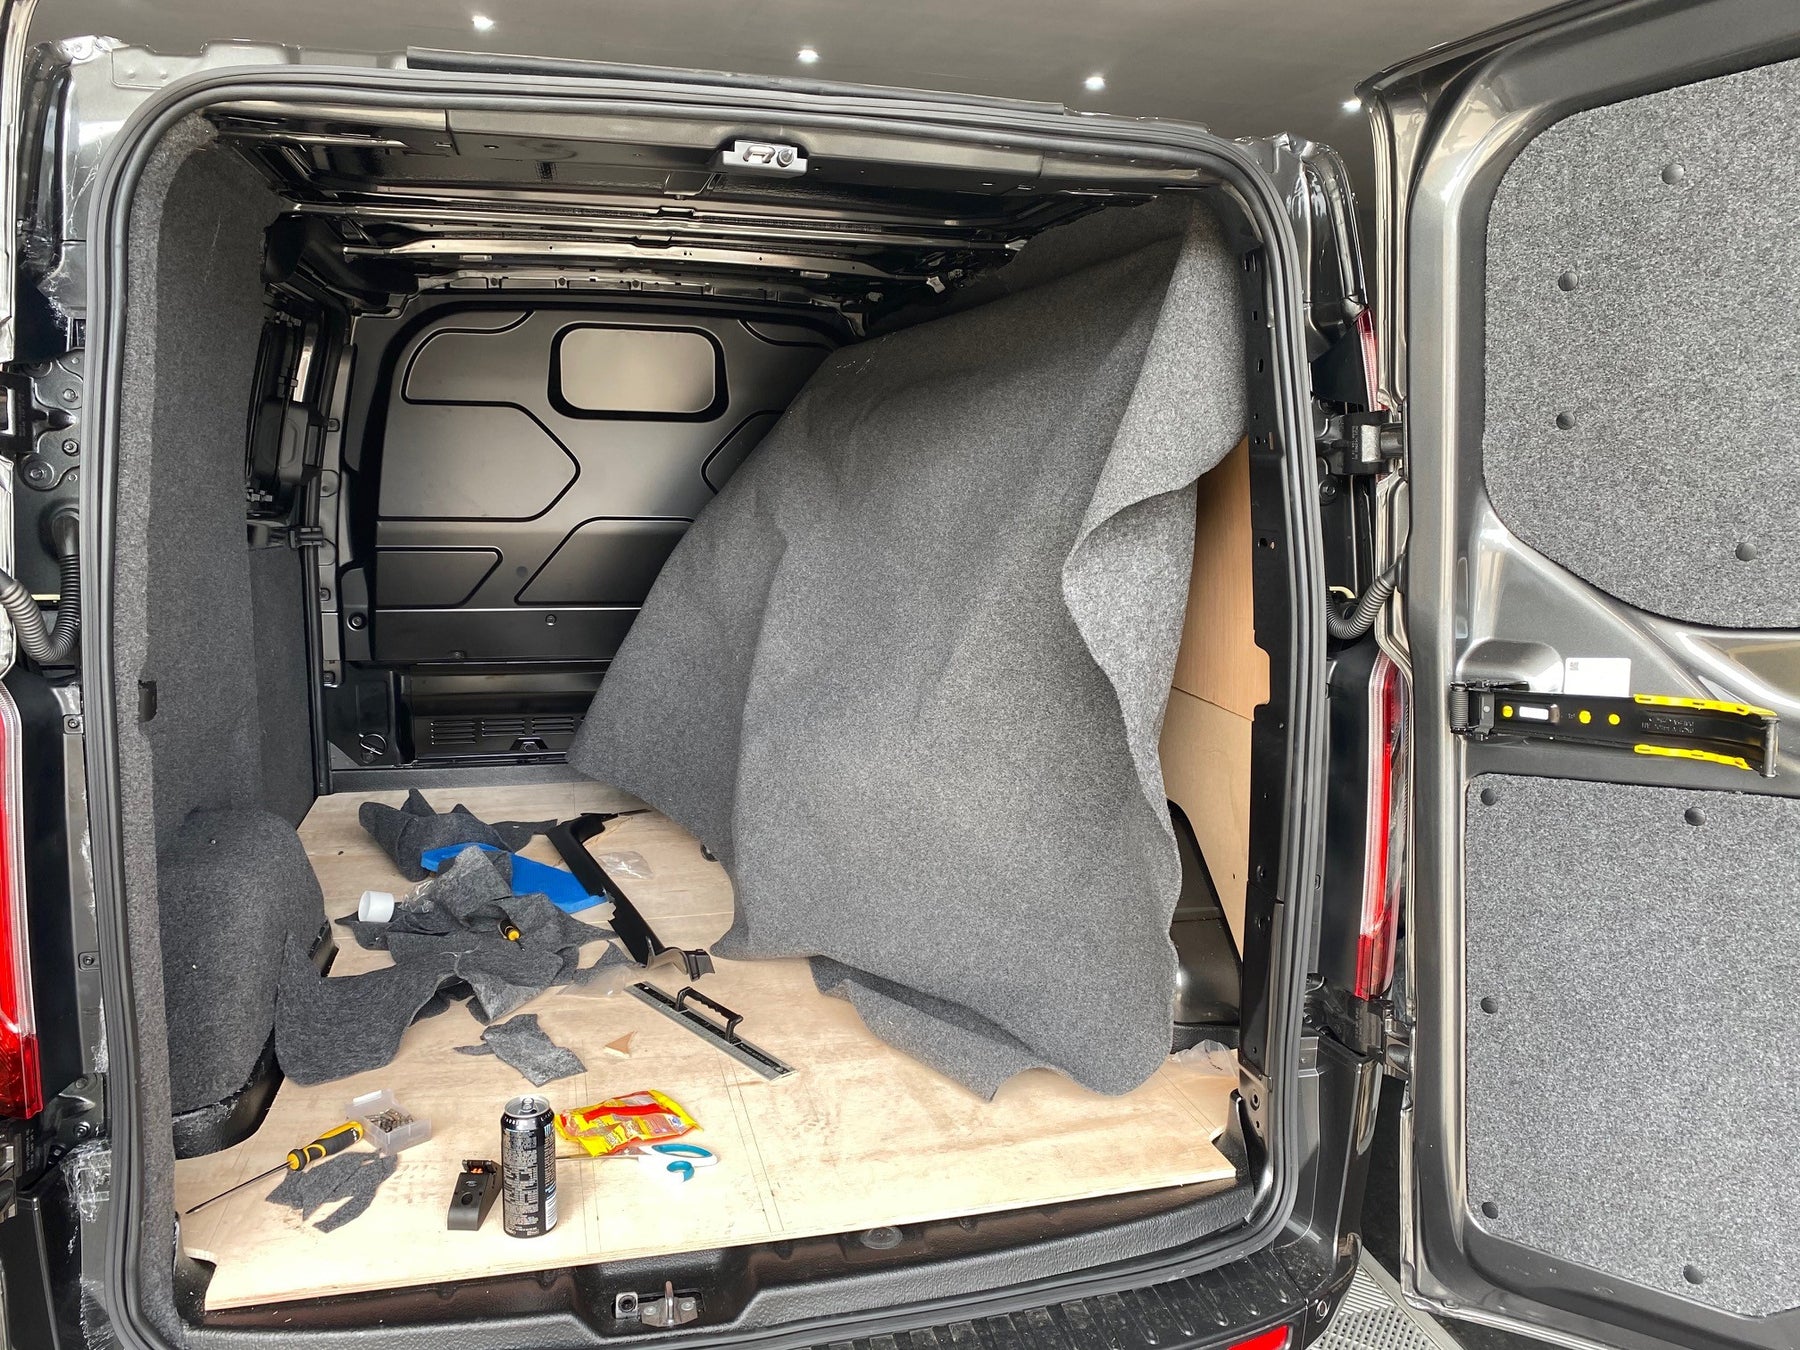
Installing a new floor can be a daunting task, but with the right tools and a little bit of know-how, it's a project that most van owners can tackle on their own. Four way stretch carpet is a popular choice for campervans and van conversions because it is durable, easy to clean, and offers a comfortable walking surface. In this guide, we will walk you through the steps of installing four way stretch carpet in your campervan or van conversion, from measuring and cutting the carpet to applying the adhesive and trimming the edges. With a little bit of patience and attention to detail, you'll have a new floor that looks great and will last for years to come.
Measure the area where you will be installing the carpet. You will need enough carpet to cover the entire floor surface, as well as extra for any cuts or seams.
Clean the floor surface thoroughly. This will help the carpet adhere better and prevent any dirt or debris from getting trapped underneath.
Lay out the carpet face down in a well-ventilated area. This will allow you to work with the backside of the carpet, which is typically smoother and easier to handle.
Cut the carpet to fit the floor surface, leaving about an inch of excess on all sides. Use a straight edge and a sharp utility knife to make clean, straight cuts.
Trim any excess from the corners using a pair of scissors. You may need to make several small snips to get a smooth, rounded corner.
Test fit the carpet by laying it on top of the floor surface. Make any necessary adjustments to the size or shape of the carpet.
When you are satisfied with the fit, apply a layer of carpet adhesive to the floor surface. Follow the manufacturer's instructions for drying times and coverage.
Lay the carpet down on top of the adhesive, starting at one end of the floor and working your way towards the other. Use a roller or other heavy object to press the carpet down and ensure good adhesion.
Trim any excess carpet from the edges using a pair of scissors or a utility knife.
Allow the adhesive to dry completely according to the manufacturer's instructions before walking on the carpet or installing any furniture.
Note: If you are installing the carpet over a previously installed floor, you may need to remove the old flooring material first. Follow the manufacturer's instructions for the carpet adhesive and any additional materials you may need, such as padding or underlayment.